Pre-requisites
Make sure you login as member of Schema Admins.
To enable the Active Directory schema for the first time:
- Open an Elevated Command Prompt.
regsvr32 schmmgmt.dll
A confirmation message is displayed:

To create a new Attribute:
- Once you've received the confirmation message, enter the command 'mmc' into the command prompt window to open up a new Microsoft Management Console window.
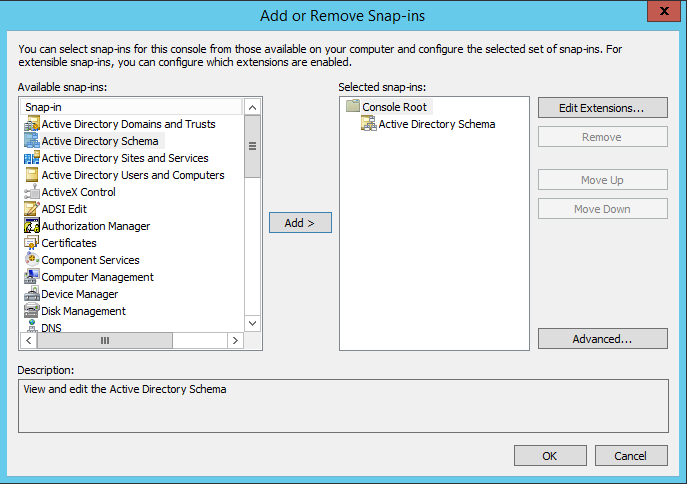
- Choose File > Add or Remove Snap-ins then select the Active Directory Schema option. Double-click or click Add then click OK to load the Snap-in.
3. Once the Snap-in has been loaded, expand this out, right-click on the Attributes entry then select Create Attribute... to continue.
4. Please ensure you read and fully understand the warning as you will not be able to delete created attributes.

5. Please ensure you read and fully understand the warning as you will not be able to delete created attributes.

6. You can retrieve Unique X500 Object ID from here by running the oidgen.vbs.
To Add a new attribute to the User Class:
- From the left-hand pane in the console, expand the Classes folder, locate the user class, then right-click and select Properties. The user Properties window is displayed.
- Open the Attributes tab then click Add...

- Search for the name of your new attribute, highlight this and click OK twice to save the change.
 Warning: These changes can take a few minutes to come into effect within your Active Directory.
Restart Active Directory Domain Services for immediate effect in your lab.
- You will be able to update the data for this new field within the Attribute Editor tab of a users Active Directory entry.

Learning something everyday !
No comments:
Post a Comment